I’ve been busy the last few weeks, and I’m excited to show you what I’ve been up to.
Last time you saw me, you probably noticed I worked in a tiny corner of a tiny office somewhere on planet Earth. Now that I’ve moved to Seattle (also on Earth), I’ve got a real Composition Lab for the first time in my entire career. Uninitiated noobs might call it a spare bedroom, but those people are huffing glue.
Welcome to my new lab…
Okay, it’s a bit empty. Let me walk you through the process of transforming a room into a recording/production studio.
Step One: Planning
I picked the room furthest from the big noise offenders (front door, kitchen, furnace, etc.) and with another spare room between me and my boyfriend’s home office. After all… you can treat a room for noise, but you can’t soundproof unless you’re building from scratch.
After that, I did a little research on ideal listening position and speaker position in a small room. There’s actually a lot of math involved, as you can see from some helpful articles from Arqen. So I measured the room and placed some markers in the ideal spots for my chair and the two main speakers.
I also did the whole room up in Sketchup, a free CAD app for basic stuff like this. As you can see from the main photo above, it helped me plan and visualize exactly how the room would look when finished.
Step Two: Fiberglass
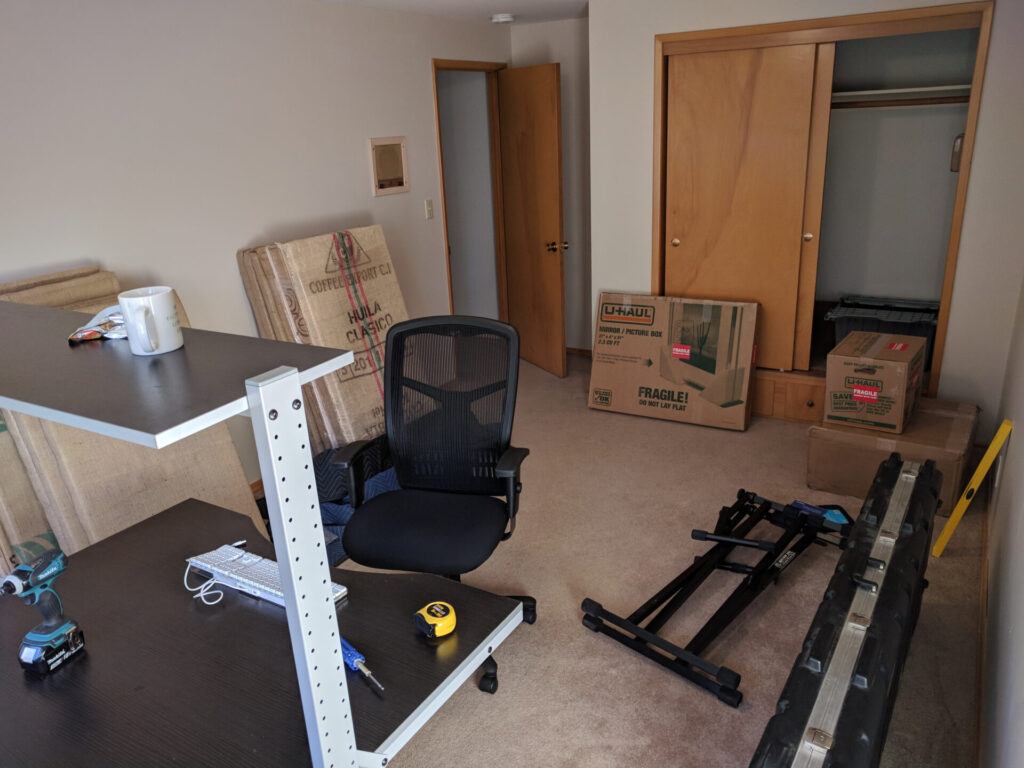
I can’t tell you how much time I’ve spent assembling IKEA furniture in the past few weeks. Once I got my desk and chair set up, though, it was time to dress the walls.
You’ve got two enemies in a home studio: reflections and bass.
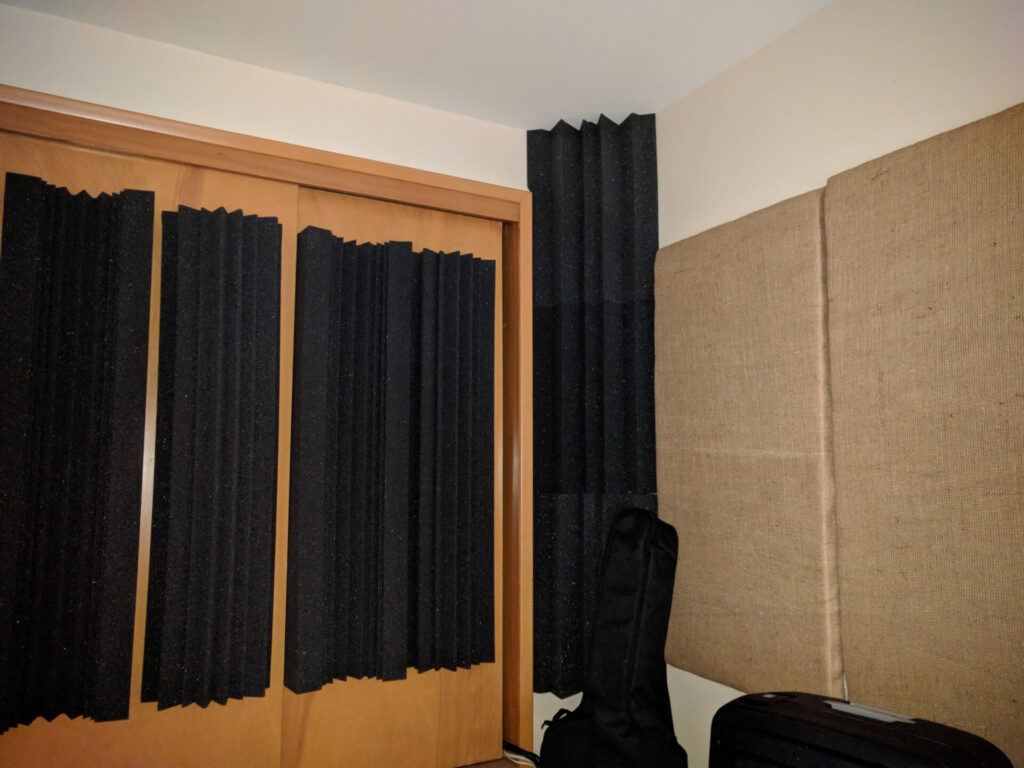
For the reflections (a.k.a. flutter echo), I had already made some 2″- and 1″-thick panels with ATS Acoustics rigid fiberglass, but those only absorb mid-range frequencies like the high end of my vocal range. That’s okay for the side walls, so I put the thickest panels on either side of where I’d be sitting and worked my way back to the closet.
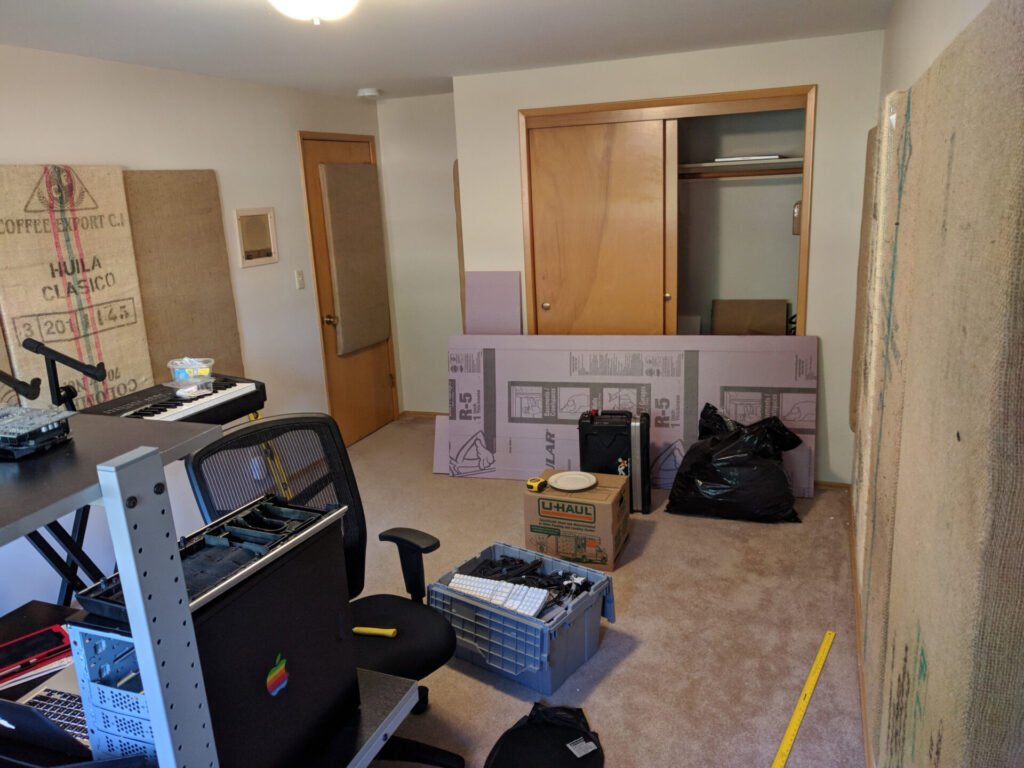
And yep, those are legit coffee bags covering the fiberglass panels. Got ’em from a local roaster. Anyway, the bigger problem in a room like this is bass.
Step Three: Foam
You can’t just throw mattress pads or even 1″ acoustic foam on all the walls and expect a good-sounding room. Small rooms are notorious for muddy, ringing bass frequencies.
Why? Like I said, there’s a bit of math to all this. Sound acts like waves in a wave pool; a wave at the right frequency will bounce off the back wall and combine with oncoming waves to make even BIGGER ones. This is why a room will “hum” or “ring” at certain frequencies. Typically this happens at whole, half, and quarter wavelengths.
For example, a bass guitar is pretty meaty at 220Hz. A 220Hz sound wave is physically about 5 feet long. If your room is 10 feet long, that 220Hz sound is half the length of your room. That makes it the perfect length to bounce back and forth between the front and back walls, making that frequency ring out like a Tibetan singing bowl.
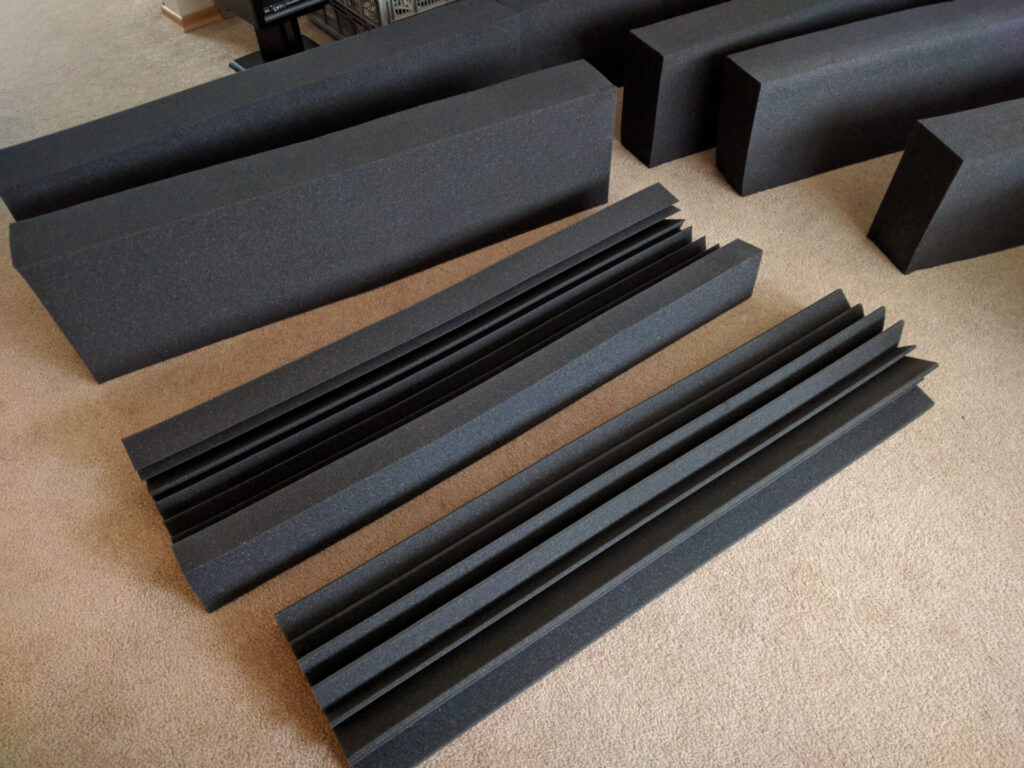
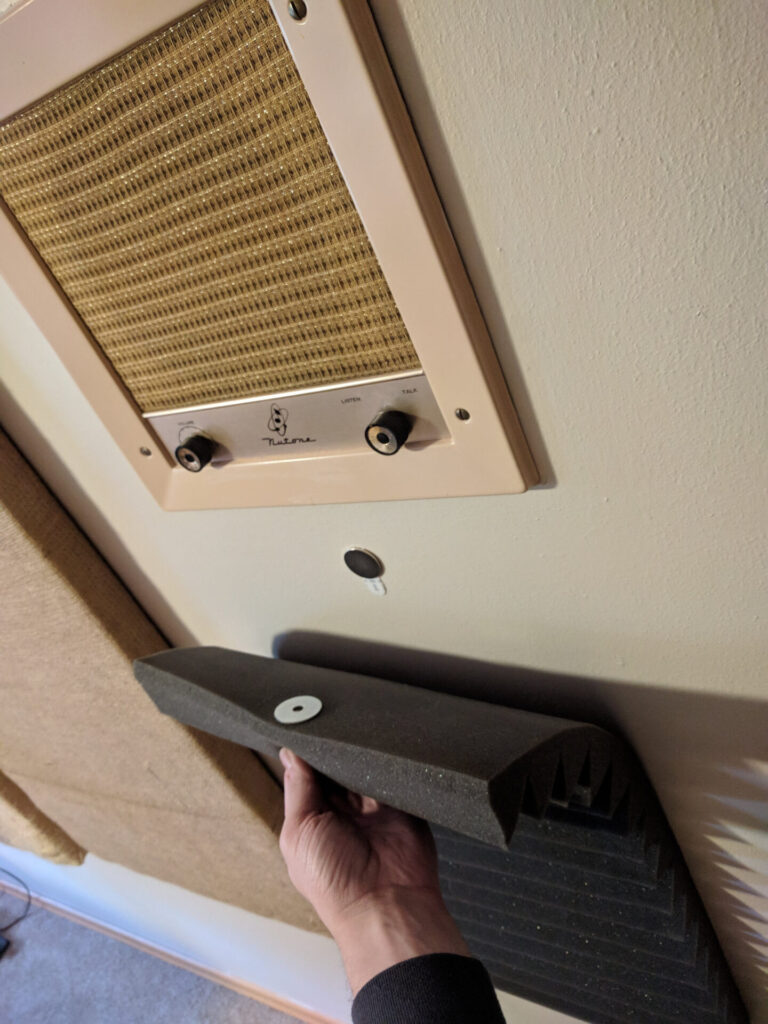
Enter the broadband absorber. It’s a 6″ thick, ridged chunk of acoustic foam specifically designed to suck the life out of lower frequencies. You can also break up those bass waves with diffusers, but in a small, low-ceiling room like a spare bedroom it’s far more cost effective to just absorb the energy with foam.
All the advice I read effectively said the same thing: treat the hell out of the front and back walls and the side walls directly next to your speakers with broadband absorbers. Done and done.
There’s also the corner wedges that many of you are familiar with. Bass frequencies love to bounce around in corners and build in bizarre ways. If you’ve got the money or the ingenuity, there’s some complicated things called bass traps you can buy or build. Most of the work can be done with super-thick corner wedges though.
Of course… this place is a rental. How do you mount foam without destroying the walls?
Step Four: Hardware

A quick trip to the hardware store later and I’ve got three ingredients for non-destructive foam mounting:
- Big metal washers
- Liquid nails (or some other repair-grade glue)
- 3M Command Strips
The heavy-duty glue is designed to adhere to metal and it expands into the pores of the foam. This gives that little disc all the grip it needs to hold a panel on the wall. I put 2-4 washers on each panel depending on its size/weight.
Once the glue cured, I just stuck command strips to the washers and put the panels on the walls. Whenever I want to take them down, I can pull the tab and leave both the wall and the foam intact.
Bonus Step: MAGNETS!
Did you notice the sliding closet doors in earlier photos? That’s a problem. Those closet doors are my back wall, so I have to treat the shit out of them… but occasionally I’ll also need to open them. What do I do now?
The short answer is magnets.
Everyone loves playing with magnets. Thanks to Amazon, big neodymium coin magnets are easy to come by. This was a hell of a good tip from my boyfriend.
By command-stripping a magnet to the wall (and another magnet to the washer for extra gripping power), I can just yank the panels down when needed and toss ’em back into place with minimal effort.
The Results
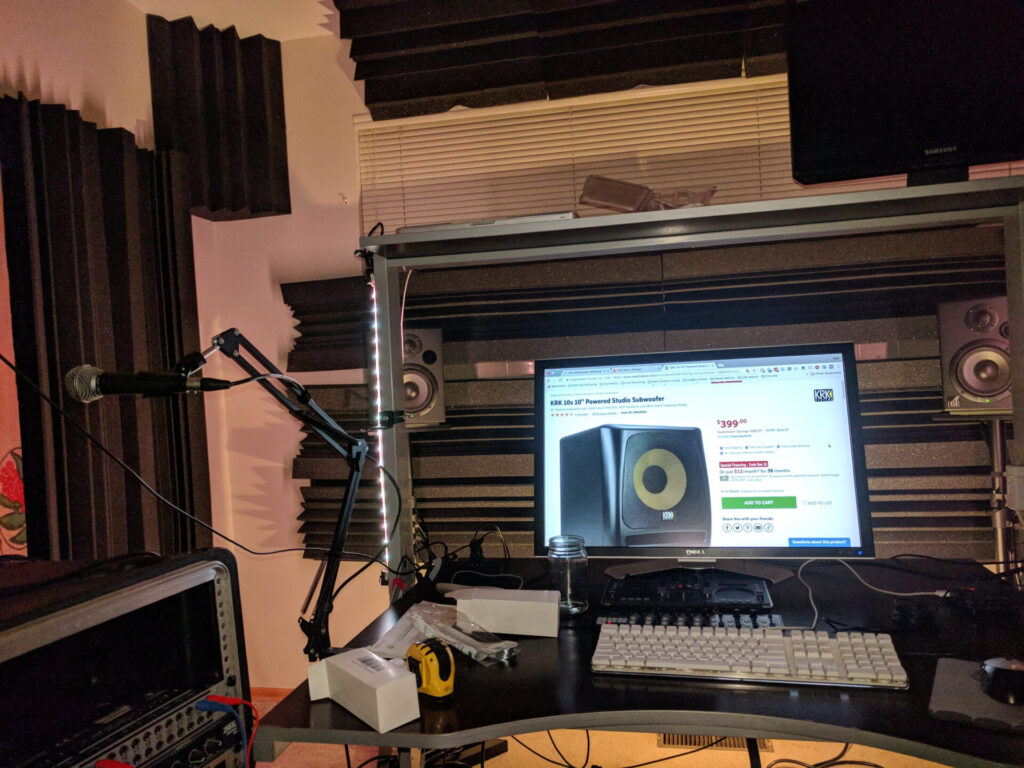
Let me tell you… I have never owned a Composition Lab that sounded this good. I can’t promise that this will make my songs better… but it’ll certainly make mixing them a LOT easier.
The important thing is that, when making music, I’ll be able to trust my speakers and my room. If I hear something off in a mix, I won’t have to question whether or not it’s the room. I’ll know what to fix, and I know it’ll sound good whether you’re plugged into earbuds or a home theater setup.
Now all I need is a subwoofer… NO… no, what I need now is to start writing again.